Getting Started
Welcome to the Customers Relationship Management! This guide will help you get started with the setup process and explore the app’s key features.
- Step 1: Access it via your browser.
- Step 2: Register your account or log in using provided credentials.
- Step 3: Follow the onboarding steps to customize your preferences.
Introduction
A Customer Relationship Management (CRM) system helps businesses manage interactions with customers, streamline sales, improve customer service, track leads, analyze data, and enhance relationships to drive growth and satisfaction
Login
The login module ensures secure access to the Shule App. Follow these steps to log in:
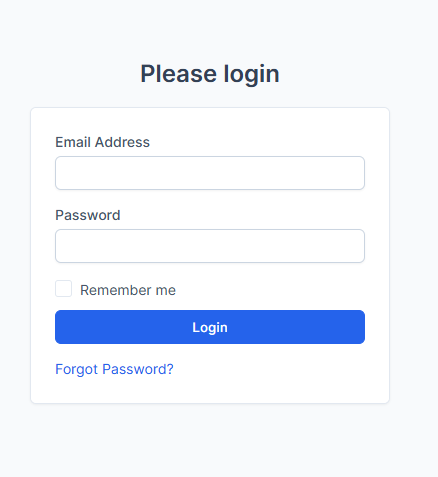
Forgot Password? If you forget your password:
- Click the "Forgot Password" link below the login form.
Note: For additional security, ensure your password is strong and not shared with others. If you experience login issues, contact technical support for assistance.CRM
Dashboard Overview
The dashboard provides a comprehensive overview of your CRM system. It displays key performance indicators, task summaries, and quick links to important modules, making it easy to track progress and manage daily operations.
Dashboard Layout:
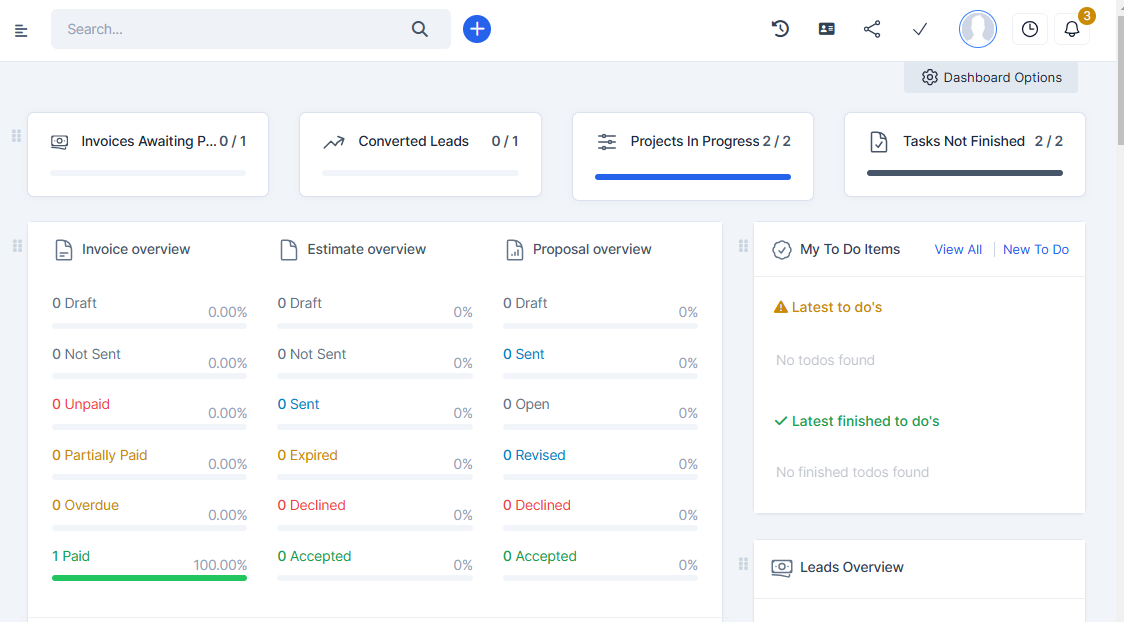
Main Sections
- Invoices Overview: Displays the status of invoices, such as paid, unpaid, overdue, or partially paid. This helps you track financial transactions efficiently.
- Estimate Overview: Shows the status of estimates, including sent, expired, or accepted, helping you manage project proposals.
- Proposal Overview: Tracks the progress of proposals, highlighting drafts, sent, open, revised, declined, or accepted statuses.
- My To-Do Items: Lists tasks that are pending or completed. This section helps prioritize your daily work.
- Projects in Progress: Summarizes ongoing projects, giving a quick view of their progress and status.
- Leads Overview: Provides insights into lead statuses, such as marketable, contacted, or converted to customers.

Key Features
- Search Bar: Quickly locate specific items within the CRM.
- Quick Add: Use the "+" button to quickly add new tasks, leads, or records.
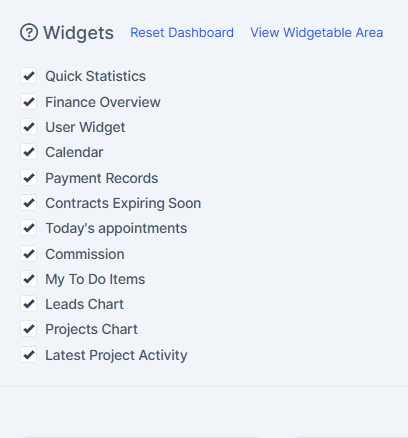
- Dashboard Options: Customize the dashboard layout and widgets to suit your preferences.
- Sign In/Sign Out: Easily log in and out of the system using the top-right profile icon. This ensures secure access to your CRM account.
- Profile Management: Click on the profile icon to view or edit your user profile, such as updating personal details or changing your password.
- File Sharing: Share files with team members directly through the dashboard. This feature is accessible via the file-sharing icon, making collaboration seamless.
Use the dashboard as a centralized hub to streamline your CRM activities and stay organized, you can also add or reduce the widgets based on your preferences
HRM Overview
The Human Resource Management (HRM) module in the system provides essential tools to manage employees, their records, and contracts effectively. This section offers an overview of its features, designed to streamline HR processes.
Dashboard
The HRM dashboard provides a quick overview of key HR metrics, allowing HR professionals to monitor staff performance, view pending tasks, and access frequently used tools.
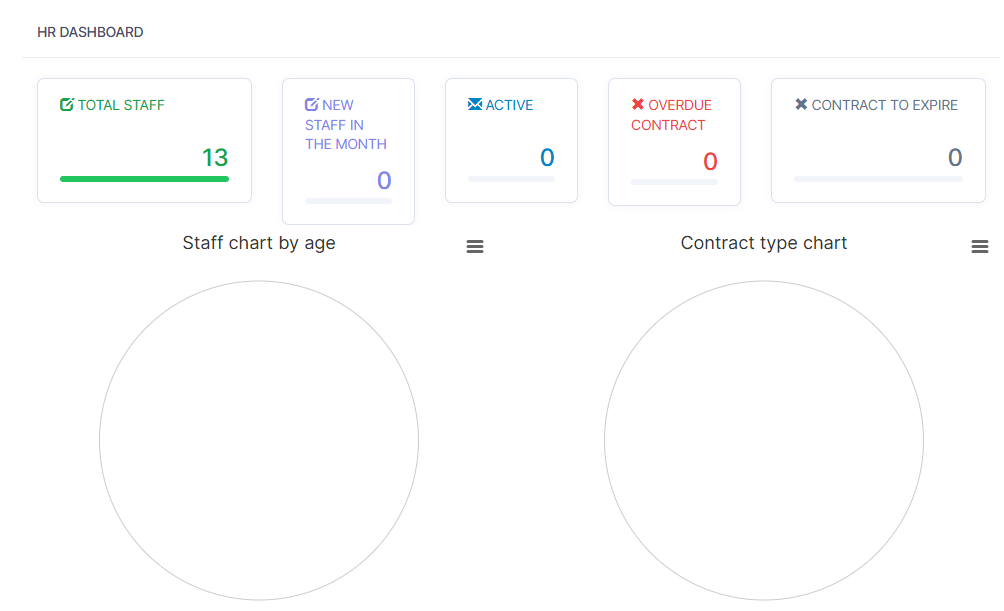
- Staff Summary: Displays the total number of employees, active staff, expired contract.
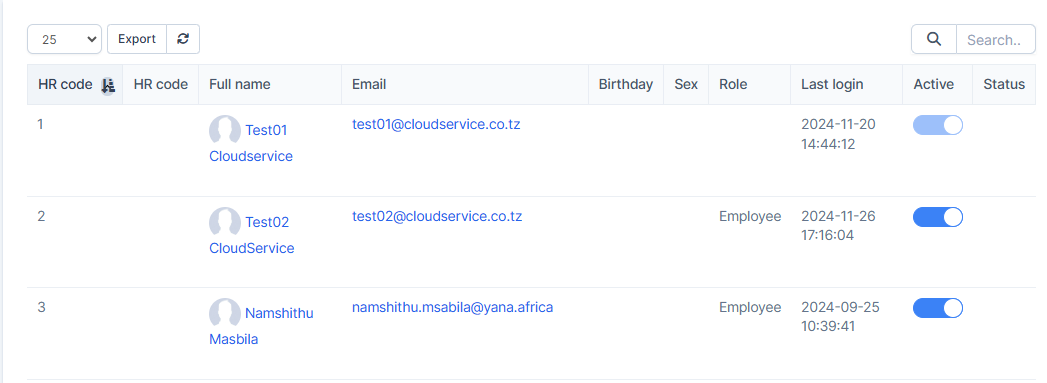
Staff List
The staff list provides a detailed view of all employees in the organization. This feature includes filters and sorting options for easy navigation and record management.
- Search and Filter: Quickly locate specific staff members using name, department, or role filters.
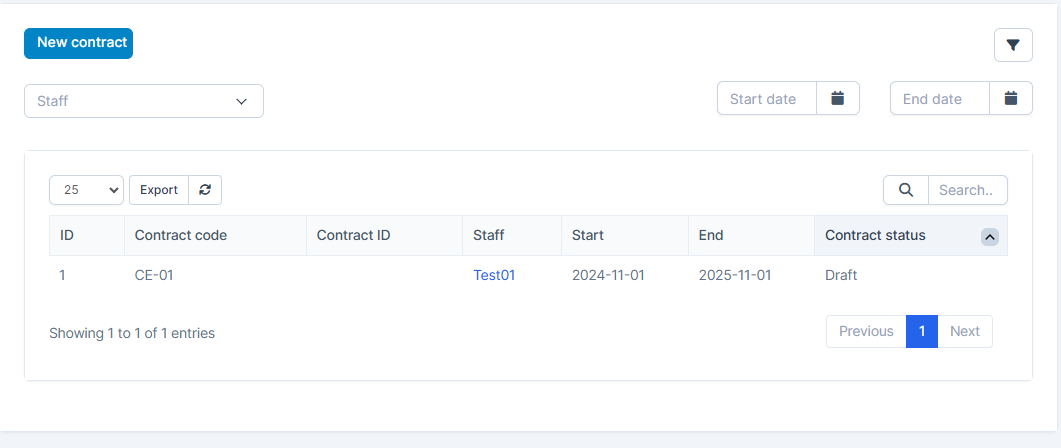
- Contract Management: Track contract start and end dates, renewal statuses, and probation periods.
- Insurance Integration: Link employee contracts with their insurance details, including policy numbers and coverage.
Contract with Insurance
This feature manages employee contracts and ensures their insurance details are up-to-date. It helps organizations stay compliant and maintain proper records.
The HRM module is designed to simplify workforce management and enhance HR productivity. It ensures all employee-related data is centralized, secure, and easily accessible.
HR Records Overview
The Human Resource Management (HRM) module in the system provides essential tools to manage employees, their records, and contracts effectively. This section offers an overview of its features, designed to streamline HR processes.
HR Record Overview
The HR Record Overview encompasses all the essential features for managing human resources within the organization:
- Dashboard: Provides a quick overview of key HR metrics and access to frequently used tools.
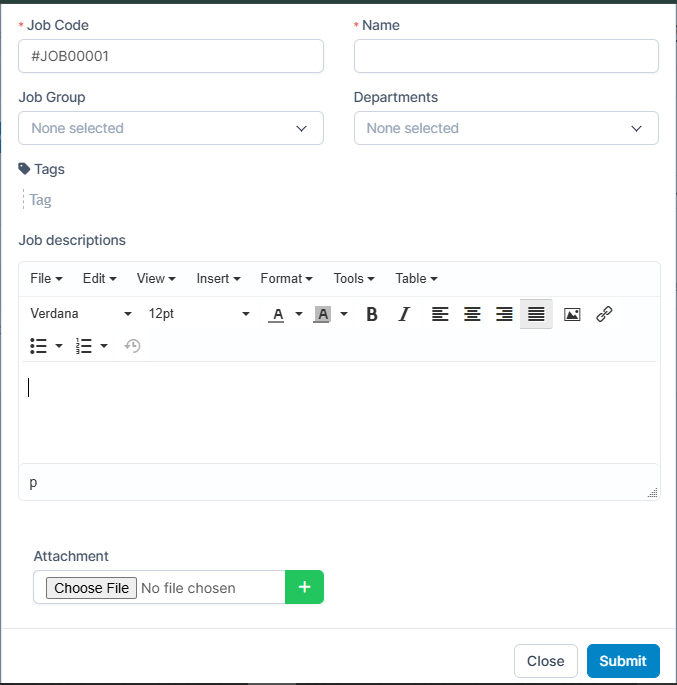
- Job Description: Manage and update roles and responsibilities for various positions in the organization.
- Org Chart: Visualize the organizational structure, showing reporting lines and team setups.
- Onboarding: Streamline the onboarding process for new employees, including necessary forms and tasks.
- HR Record: Maintain comprehensive records of employee details, including personal information and employment history.
- Training: Track and manage employee training programs to enhance skill development.
- Contract: Manage employee contracts, including start and end dates, renewals, and probation periods.
- Dependant: Record details of dependants for insurance and other HR-related benefits.
- Report: Generate detailed HR reports, such as workforce analytics, compliance tracking, and performance summaries.
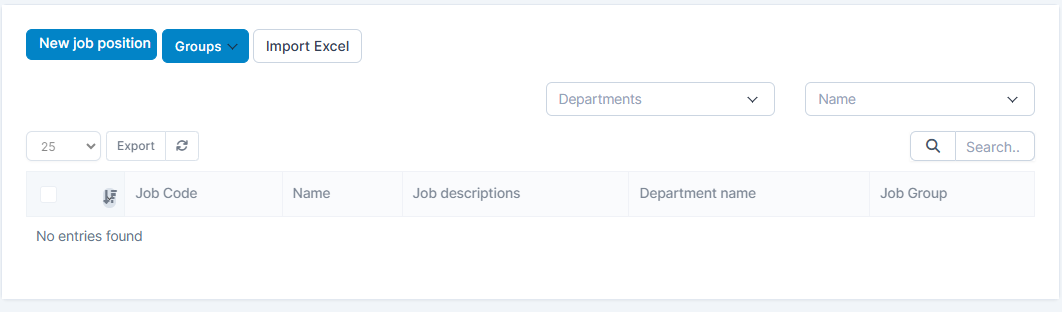
By clicking to New job position you can add a new job to an organization
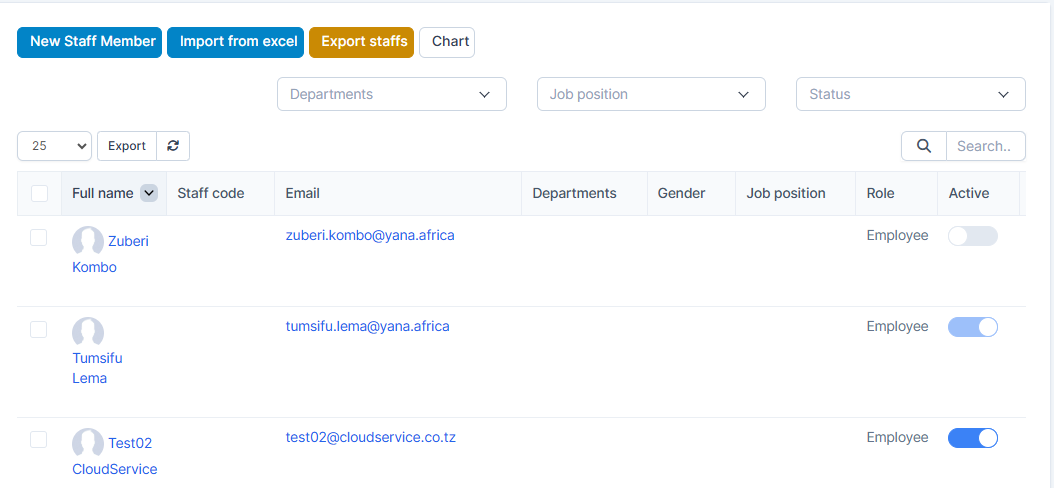
By clicking on New staff member you can add new staff or import if you have a large number you want to insert
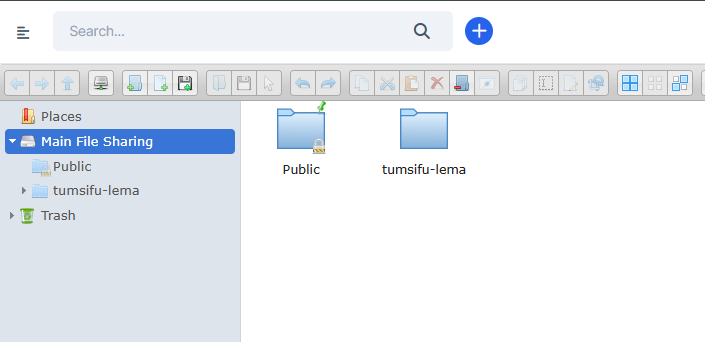
File Sharing Overview
The file sharing feature enables seamless collaboration by allowing users to upload, share, and manage files directly within the system. This ensures that team members have quick access to important documents.
- public: A shared folder accessible to all users, typically containing files intended for general access..
- User-Specific: A personal or restricted folder for specific users or departments. This ensures privacy and secure file storage for sensitive data.
- Trash: The folder allows users to recover recently deleted files, providing a safety net for accidental deletions.
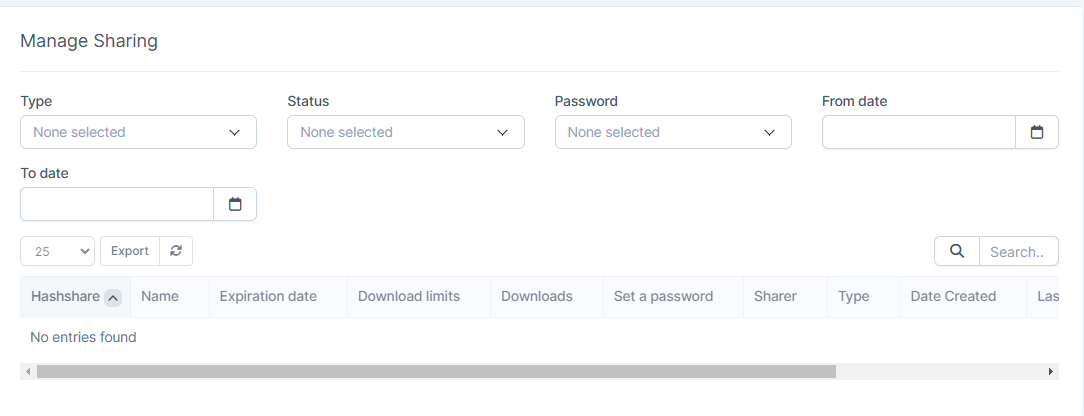
- Manage Sharing: A shared folder accessible to all users, typically containing files intended for general access.
- Allows users to filter shared files by file type either for public or client
- Password: Displays whether shared files are password-protected
- From Date & To Date: Enables filtering by date range, helping users find specific files shared within a set timeframe.
- Report: Reports from the feature can help analyze the sharing and download activities e.g total number of files shared over a specific period
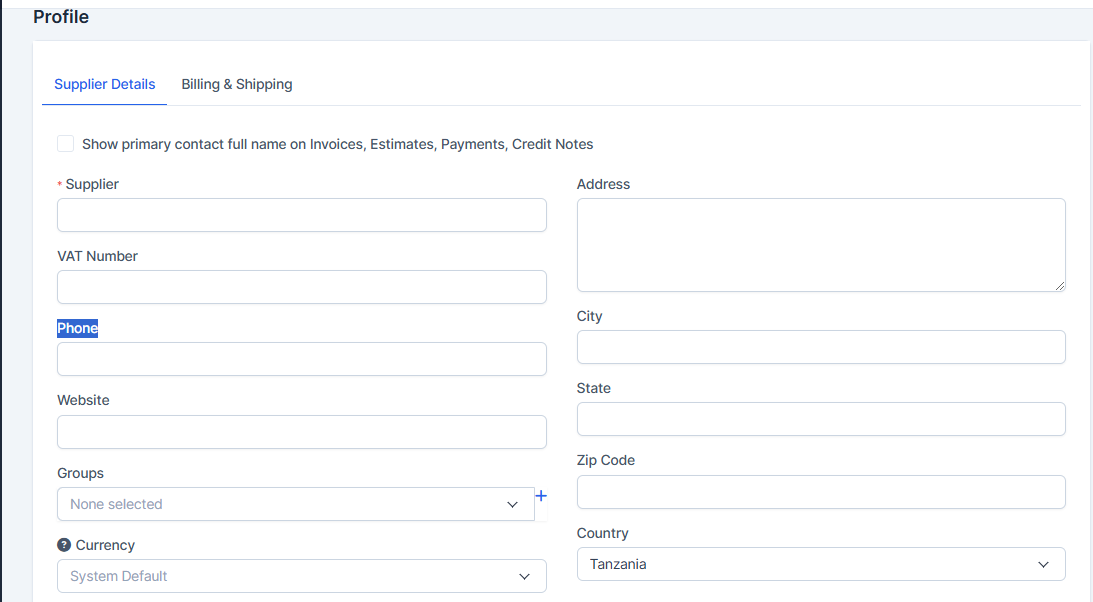
Suppliers Overview
The suppliers module helps manage supplier information, including contact details, transaction history, and ratings. This feature supports efficient procurement and vendor management.
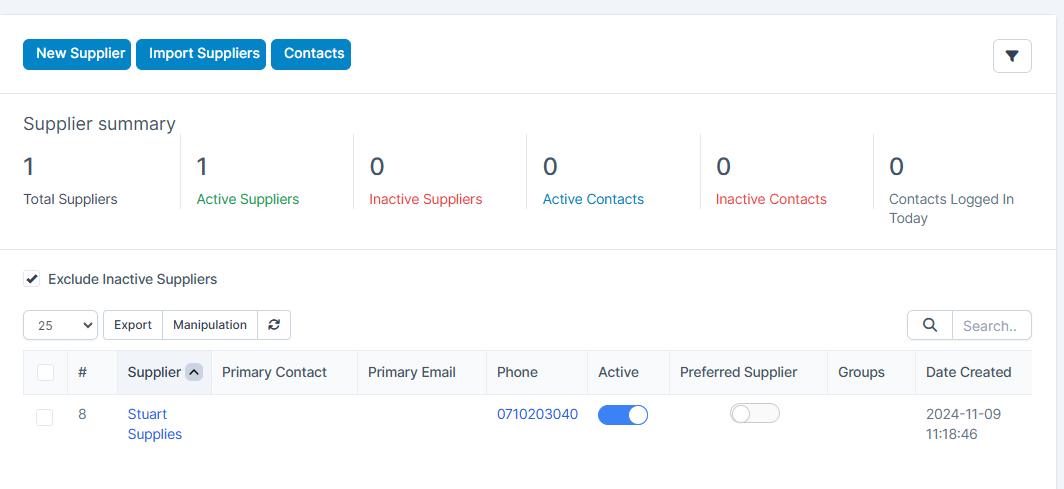
- How to Add a Supplier
- Navigate to the Supplier section in the CRM.
- Click on the New Supplier button.
- Fill in the required details, such as:
- Supplier Name,Contact Information (phone number, email),Business Details
- Click Save to store the supplier's information.
import New Suppliers
The Supplier Import Page allows you to import supplier data in bulk using a CSV file. Follow these steps to complete the process:
1. Prepare the CSV File
-
Ensure the CSV file includes the following headers:
-
Firstname (Required)
Lastname (Required)
Email (Required)
Contact Phonenumber
Position
Company (Required)
Is Preferred
Vat
Phone
Save the file in UTF-8 format.
Use the date format Y-m-d (e.g., 2024-12-16) for any date fields.
Ensure there are no duplicate email entries, as they will not be imported.
-
Click Choose File and select the prepared CSV file from your device.
-
Groups: Assign suppliers to a specific group using the dropdown menu.
Default Password: Set a default password for all imported suppliers.
-
Click Simulate Import to verify the file for errors before importing.
Click Import to complete the process and add the suppliers to the system.
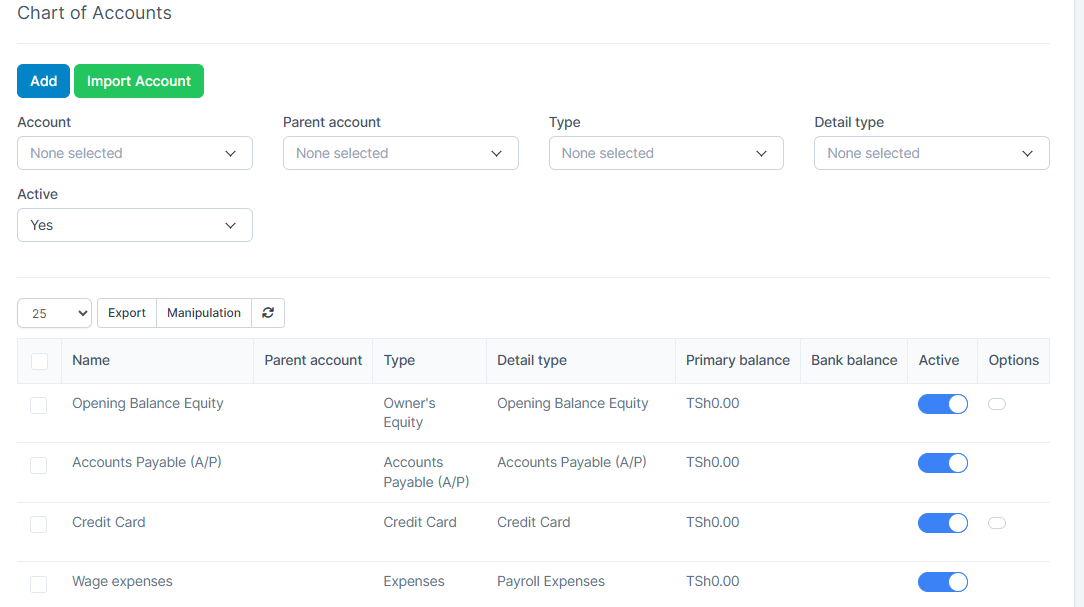
Accounting Overview
The accounting module provides tools for managing financial records, tracking expenses, generating invoices, and ensuring compliance with tax regulations. It simplifies financial operations for the organization.
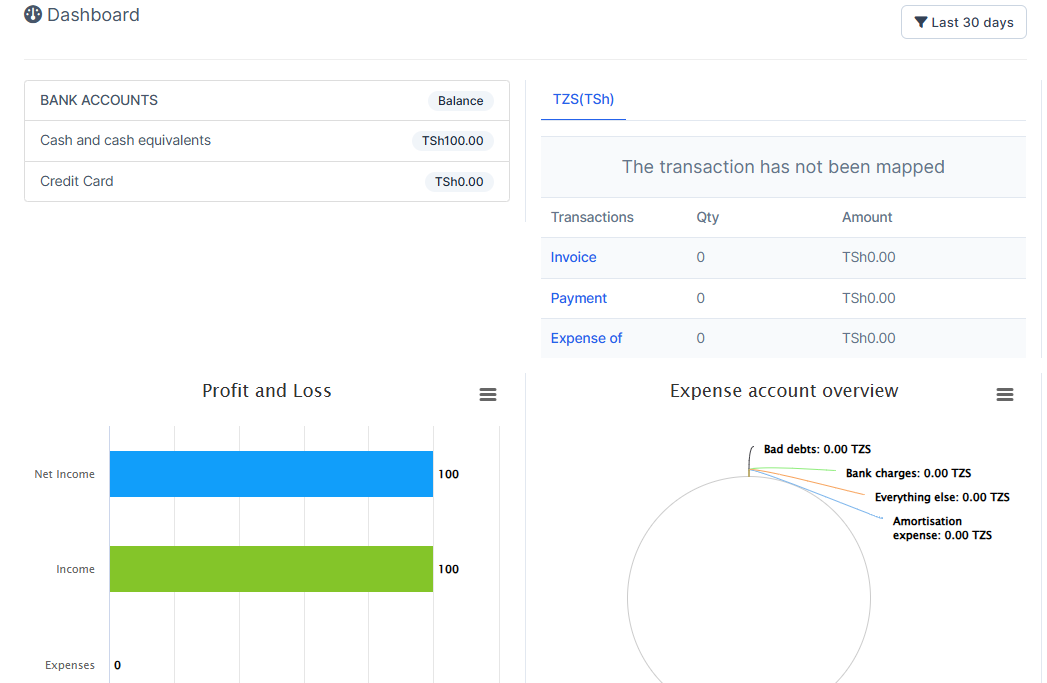
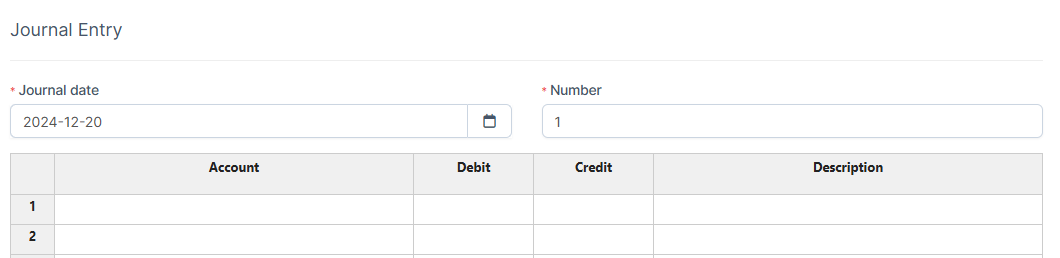
- Journal Entry: Track and categorize journal Entry.
- Charts of Accounts: Create and manage different Accounts.
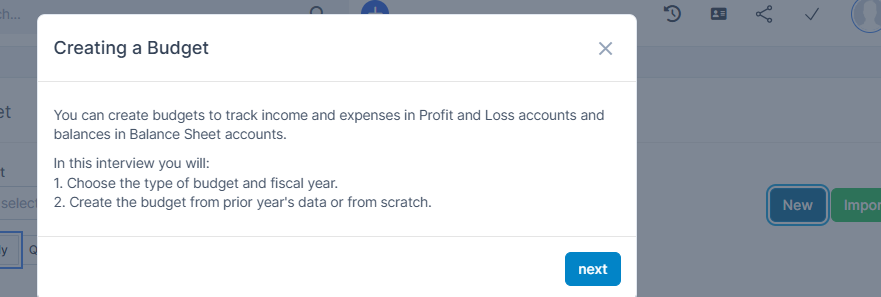
- Budget:Calculate and prepare Budget.
Customers Overview
The customers module centralizes all customer information, allowing for effective relationship management, interaction tracking, and sales follow-ups.

- Navigate to the Customer Page:
- Go to the "Customer" section in your dashboard.
- Click on the "New Customer" button.
- Fill in Customer Details:
- Company: Enter the name of the customer's company (this is a required field).
- VAT Number: Provide the VAT number (optional).
- Phone: Add the customer's phone number.
- Website: If applicable, input the customer's website URL.
- Groups: Select a group for the customer from the dropdown list or click the "+" to create a new group.
- Currency: Choose the preferred currency, or leave it as "System Default" if no changes are needed.
- Address: Enter the customer's full address.
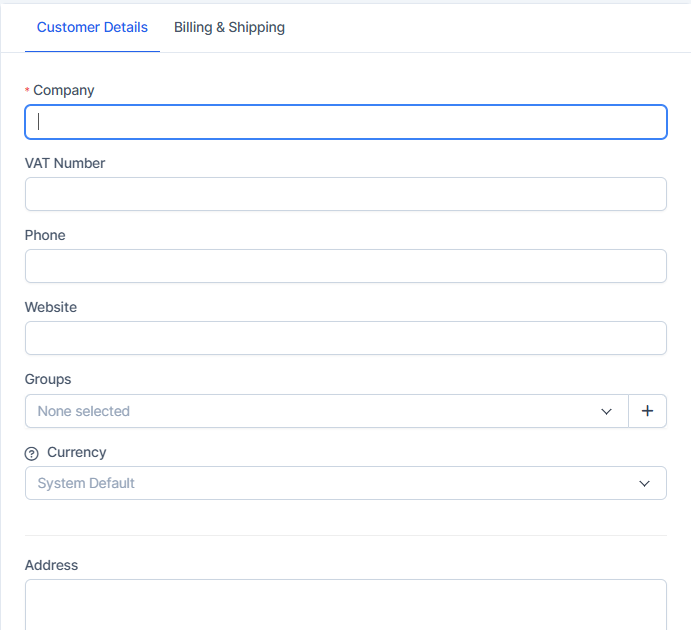
- Save the Customer:
- After entering all required details, click the "Save" or "Submit" button to save the customer information.
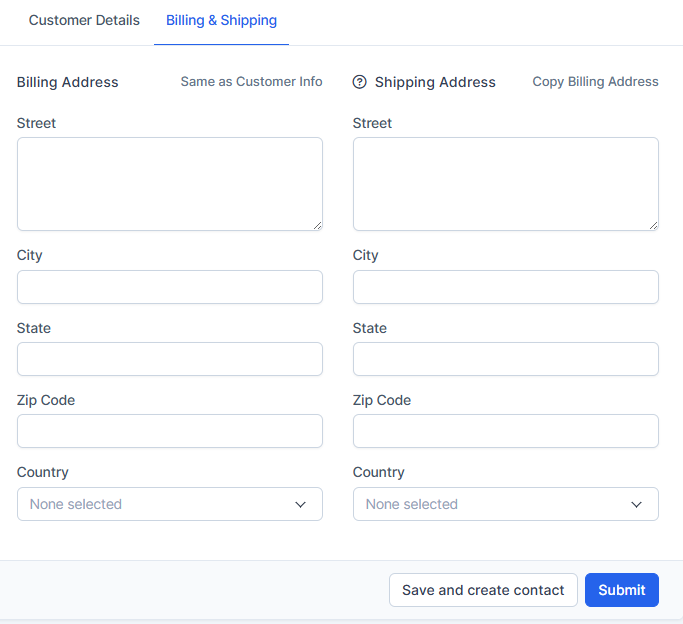
Once completed, the new customer will appear in your customer list, and you can manage their details anytime.Afterwards you can add billing information to the next Page
Import file will be used to add a large number of customers at once in csv format
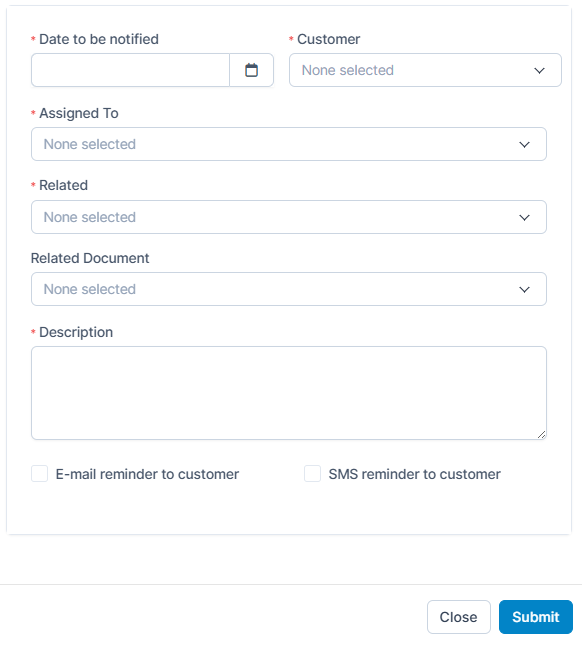
Remainder Overview
The Remainder section helps manage and track reminders for important tasks, follow-ups, or deadlines, ensuring timely action and improved workflow efficiency.
- Create Reminders:
Set up reminders for tasks such as client meetings, follow-ups, or project deadlines.
- Click on the "Add Remainder" button.
- Fill in the details like Customer name, Date, Assigned to, and Description.
- You can choose the reminders to be via email or sms
Mail Overview
The mailbox is designed to help you manage your email efficiently. It provides features such as composing emails, organizing emails into folders, marking important messages, and searching for specific emails.
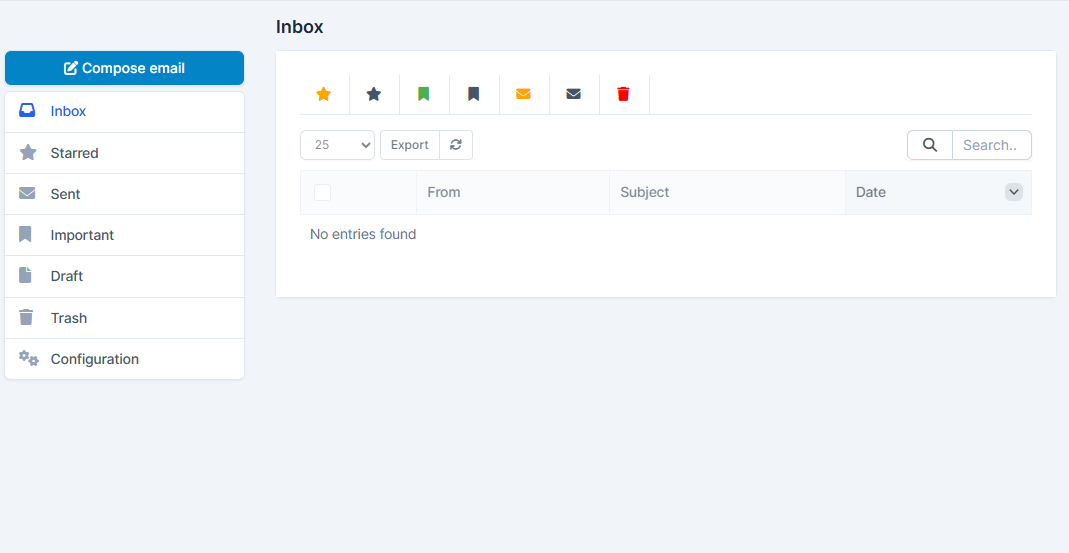
Composing an Email
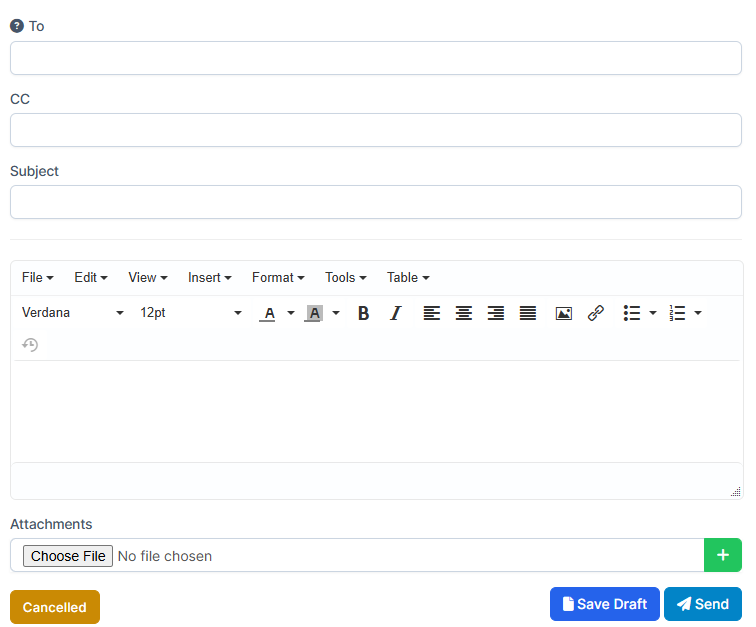
- Compose Email Button: Click on the "Compose email" button located in the sidebar to start a new email.
- Enter Details: Fill in the recipient's email address, subject, and the body of the email.
- Send Email: Once your email is ready, click on the "Send" button to dispatch your email or to set as Draft.
Sales Overview
The sales module helps track the entire sales process, from lead generation to deal closure, providing insights into performance metrics and sales forecasts.
Proposals
Proposals are used to offer services or products to potential clients formally.
Steps to Create a Proposal:
- Accessing Proposals: Navigate to Sales > Proposals on the sidebar menu.
-
Filling Personal Information:
- Client Name: Enter the client’s full name or company.
- Email Address: Provide the client’s email.
- Proposal Title: Add a brief, clear title for the proposal.
- Valid Until: Choose the expiration date.
- Description/Notes: Write details, including the offer and terms.
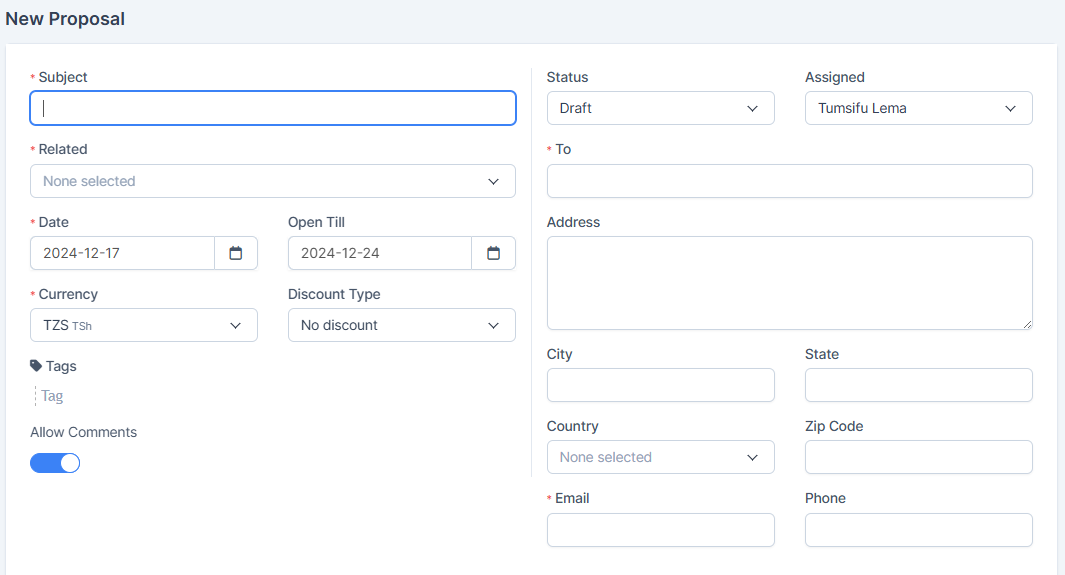
- Saving and Sending: Save the proposal and send it via the Send button.
- Monitoring Status: Check status: Draft, Sent, Accepted, or Declined.
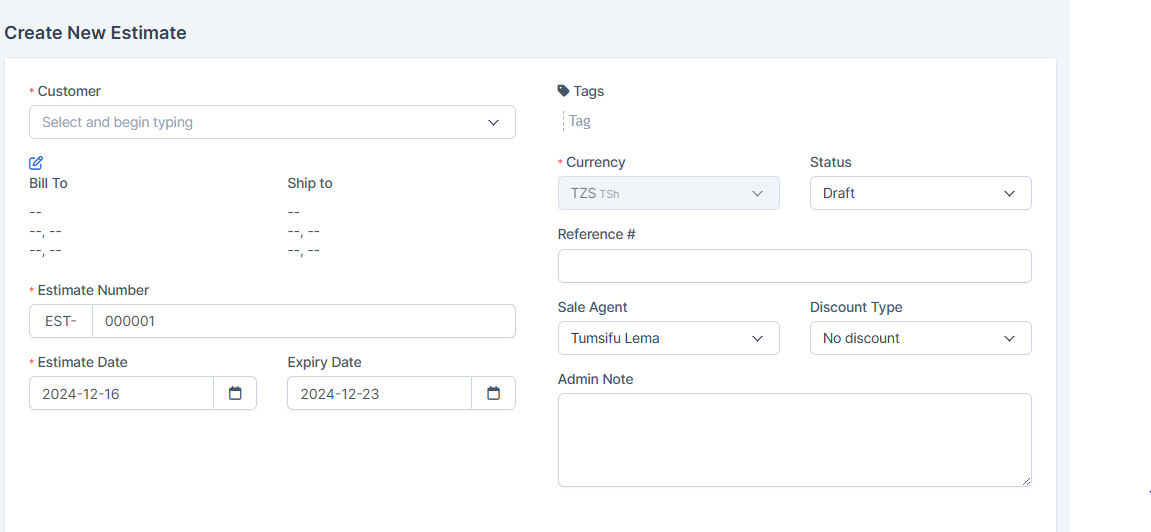
Estimates
Estimates provide a price quotation for a product or service.
Steps to Create an Estimate:
- Accessing Estimates: Navigate to Sales > Estimates on the sidebar.
-
Creating a New Estimate:
Click the New Estimate button.
-
Filling Personal Information:
- Client Name: Enter the customer or company name.
- Estimate Date: Select the current date.
- Expiration Date: Choose the expiration date.
- Estimate Number: Auto-generated or manually input.
- Notes: Provide any relevant details.
-
Adding Items:
Click Add Item to include products or services:
- Provide item name, quantity, and unit price.
- Include tax rates if applicable.
- Verify totals for accuracy.
- Finalizing the Estimate: Save and send the estimate using the Send button.
- Tracking Status: Monitor statuses: Draft, Sent, Accepted, or Expired.
Creating an Invoice
The Invoice section allows users to generate and manage invoices for customers, ensuring smooth payment tracking.
Steps to Create a New Invoice:
-
Accessing the Invoice Section:
Navigate to Sales > Invoices from the sidebar menu.
-
Selecting the Customer:
In the Customer field, begin typing the customer’s name and select it from the dropdown list.
-
Filling Invoice Details:
- Invoice Number: Auto-generated (e.g.,
INV-000013) but can be customized. - Invoice Date: Set the invoice date using the date picker.
- Due Date: Choose when the invoice will be due.
- Bill To / Ship To: Customer address details will populate here automatically if configured.
- Tags: Add any relevant tags to categorize the invoice.
- Invoice Number: Auto-generated (e.g.,
-
Payment and Currency Settings:
- Allowed Payment Modes: Select the payment method (e.g., Bank).
- Currency: Confirm or set the currency (e.g.,
TZS). - Recurring Invoice: Choose "Yes" or "No" for recurring billing.
- Discount Type: Apply discounts if applicable (e.g., No Discount, Percentage, Fixed Amount).
-
Adding Items to the Invoice:
- Click on the "Add Item" dropdown to select products/services.
- Provide details such as quantity, unit price, and tax if applicable.
- Ensure the totals and calculations reflect correctly.
-
Admin Notes (Optional):
Add any specific notes for internal purposes in the Admin Note field.
-
Saving and Finalizing the Invoice:
Once all details are filled in, click the "Save" button to finalize the invoice.
-
Sending the Invoice:
After saving, you can use the "Send" option to email the invoice to the customer.
Additional Notes:
- Check the box for "Prevent sending overdue reminders for this invoice" if needed.
- Choose to display item quantity as Qty, Hours, or Qty/Hours at the bottom of the form.
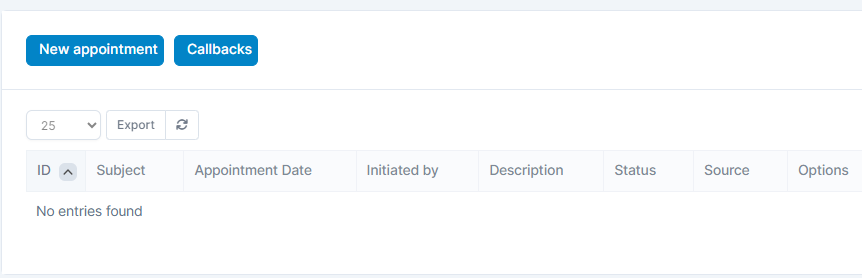
Appointly Overview
The Appointly section is designed to help you manage appointments and callback requests efficiently, ensuring seamless communication with clients and team members.
1. Appointment Management
Use the Appointment feature to schedule meetings, consultations, or follow-ups with clients.
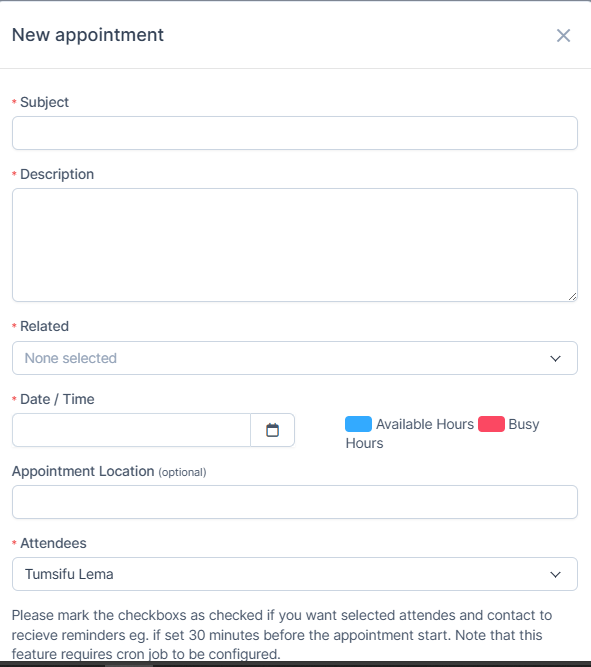
- Create an Appointment:
- Click on the "New appointment" button.
- Fill in the following details:
- subject: Enter a name for the appointment (e.g., Client Meeting).
- Date & Time: Select the date and time for the appointment.
- Related: Choose the Lead or contact person.
- Description: Add any notes or details about the appointment.
- Click "Save" to confirm the appointment.
- Log a Callback Request:
- Click on the "Callback" button.
- All callback requests appear in the Callback section of Appointment.
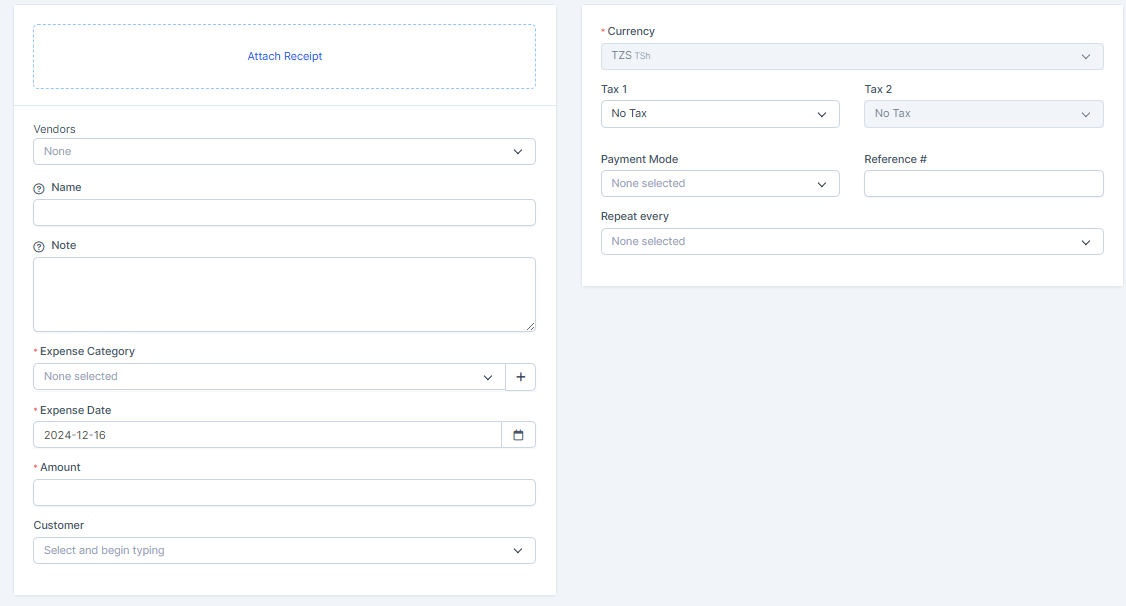
- Attach Receipt: Click on the "Attach Receipt" field to upload a receipt for the expense.
- Vendor: Enter the name of the vendor from whom the expense was incurred.
- Expense Name: Enter a name for the expense for easy identification.
- Note: Add any additional notes or descriptions about the expense.
- Expense Category: Specify the category for the expense (e.g., Travel, Office Supplies).
- Expense Date: Select the date when the expense occurred.
- Amount: Enter the total amount for the expense.
- Customer: If applicable, enter the name of the customer related to the expense.
- Currency: Choose the currency for the expense amount from the dropdown menu.
- Tax Options: Specify any tax details related to the expense.
- Payment Mode: Enter the mode of payment used for the expense (e.g., Cash, Credit Card).
- Reference Number: Provide a reference number for the expense if available.
- Repeat Interval: Specify if the expense repeats over a certain interval (e.g., Monthly, Annually).
- Add New Items: Enter details about new products or services that need to be added to the inventory.
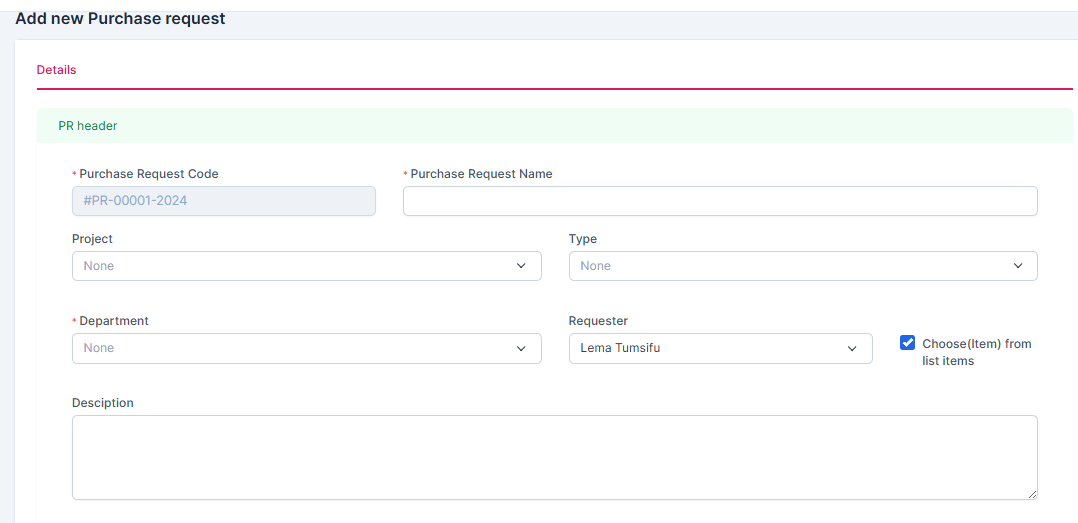
- Create Request: Click on "Create Purchase Request" to start a new request.
- Fill in Details: Provide necessary information such as item name, quantity, preferred vendor, and any special instructions.
- Submit Request: Once all details are filled in, submit the request for review and approval by relevant authorities within the organization.
- Vendors: Manage information about vendors or suppliers, add new vendors, and update existing vendor details.
- Vendor-Items: Link specific items to their respective vendors to facilitate easier vendor selection during the purchasing process.
- Quotations: Request and manage quotations from vendors, compare quotes, and select the best offer.
- Purchase Order: Create and manage purchase orders, ensuring all purchase details are properly recorded and tracked.
- Contracts: Manage contracts with vendors, create new contracts, update existing ones, and store contracts for easy access.
- Invoices: Manage invoices received from vendors, record invoice details, track payment status, and ensure timely processing.
- Reports: Generate reports on purchase requests, orders, vendor performance, and more to analyze procurement activities.
2. Callback Management
The Callback feature helps you manage and track callback requests from clients or leads.
Expenses Overview
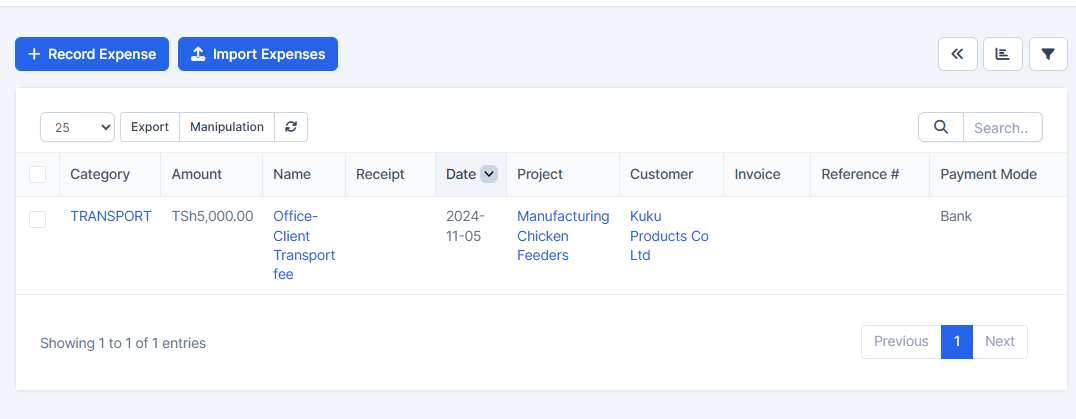
This section helps you manage your expenses efficiently by providing features to track, categorize, and summarize your spending.
New Expenses
Purchases Overview
This section helps you manage all aspects of purchasing within the organization, including tracking items, managing vendors, handling purchase requests, and generating necessary documents like quotations, orders, and invoices.
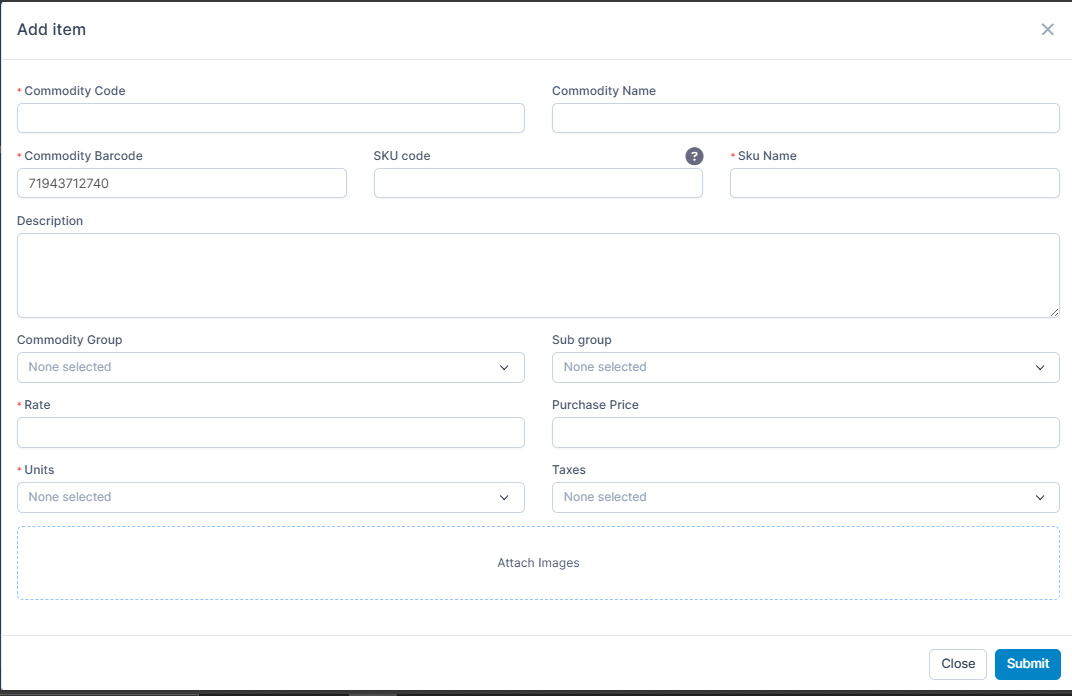
Items
The "Items" section allows users to manage the inventory of products or services that the organization purchases. Here, you can:
Purchase Request
The "Purchase Request" section is where users can create and manage requests for purchasing items. Follow these steps to submit a purchase request:
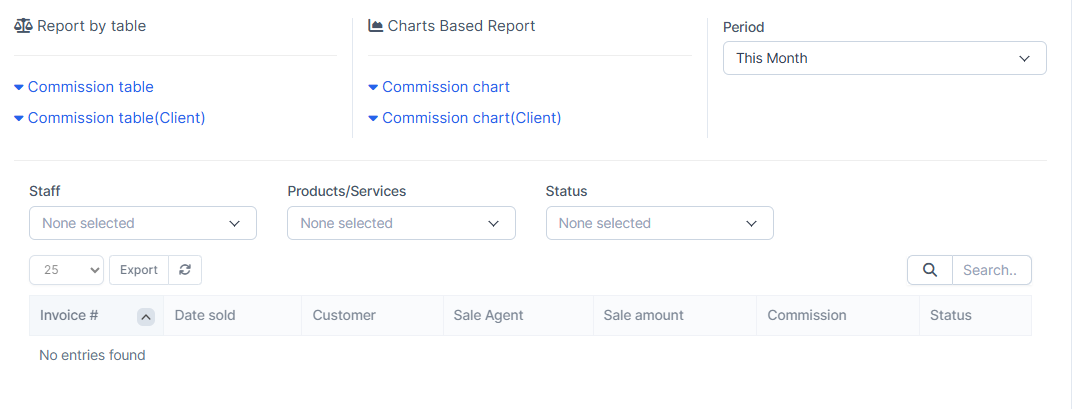
Commission Overview
This feature calculates and tracks commissions for sales representatives, ensuring accurate and transparent compensation management.
- statistics: Calculate commissions based on sales data.
- Commision Receipt: Generate detailed commission receipt.
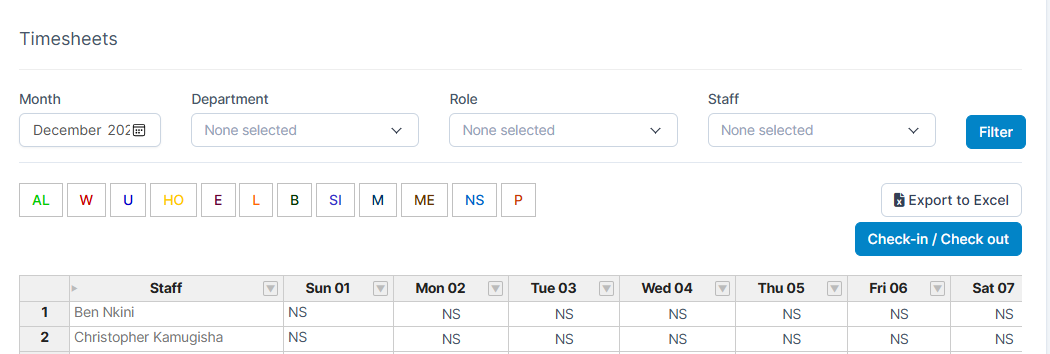
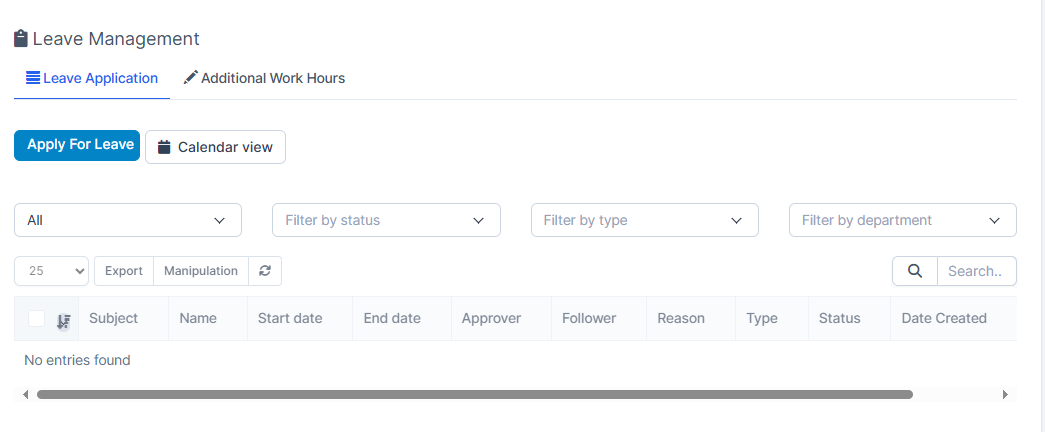
Timesheet & Leave Overview
The timesheet and leave module allows employees to log work hours,work shift timetable, and apply for leave, .

- Attendance: Log and track daily work hours.
- Leave Applications: Apply and approve leave requests.
- shift:Shift.
- Reports: Generate timesheet and leave summaries.
support Overview
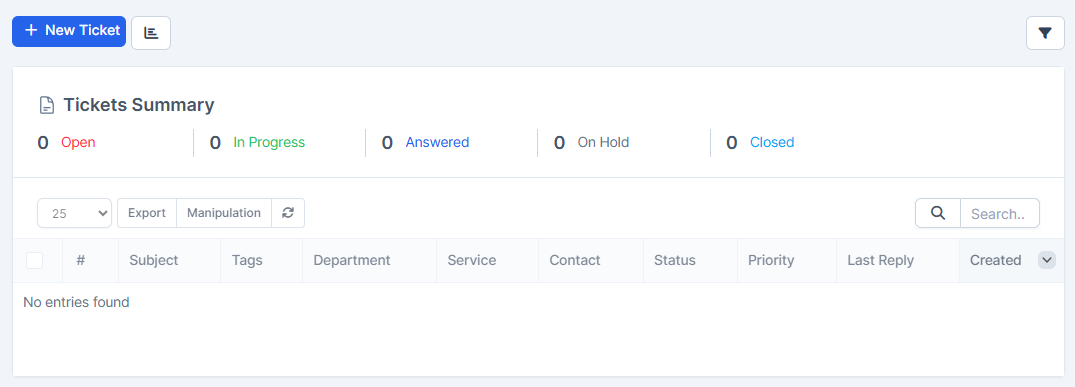
This module support ticket system tracks and resolves user inquiries efficiently, ensuring organized and timely assistance.
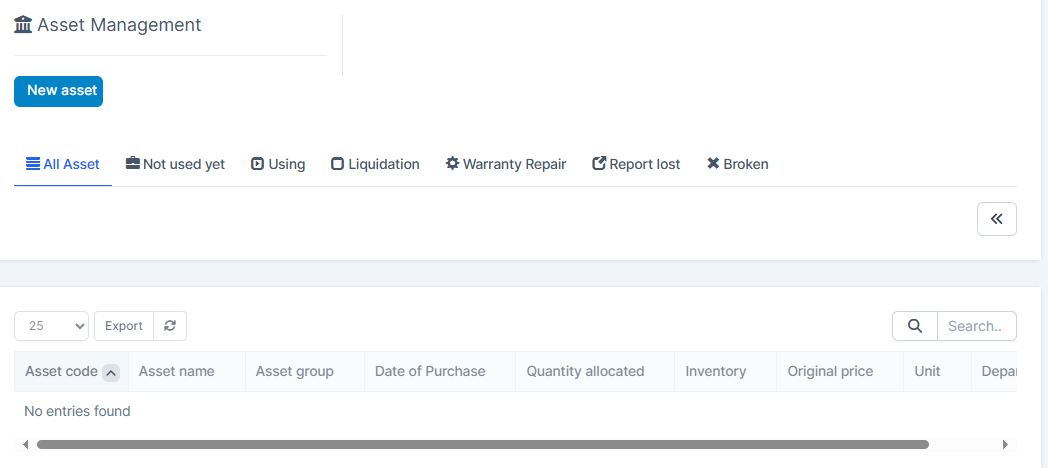
Asset Management Overview
The asset management module tracks company assets, including hardware, software, and equipment, ensuring proper maintenance and utilization.
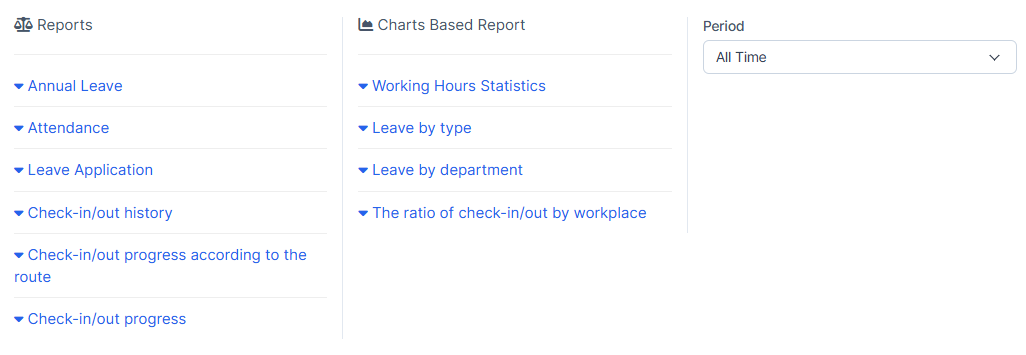
Report overview
The Reports section in the CRM provides tools to analyze, track, and generate insights into various organizational metrics. Below is an overview of the available reports:
Sales
Provides a summary of sales data, including:
- Revenue trends
- Sales team performance
- Top products/services sold
Expenses
Tracks organizational expenses with features such as:
- Monthly or quarterly expense overviews
- Expense breakdown by category
- Cost-saving opportunities
Expenses vs Income
Compares income and expenses to determine financial health:
- Profitability analysis
- Cash flow tracking
- Financial insights for better decision-making
Leads
Monitors lead generation and engagement:
- Lead sources and quality
- Conversion rates
- Engagement trends
Timesheets Overview
Generates employee productivity reports, including:
- Work hours logged
- Project-specific time tracking
- Attendance trends
KB Articles
Access helpful knowledge base articles for support:
- Frequently asked questions (FAQs)
- Troubleshooting guides
- Step-by-step feature usage
- item Management: Easily add and categorize products.
- Stock Tracking: Monitor stock levels on import and export.
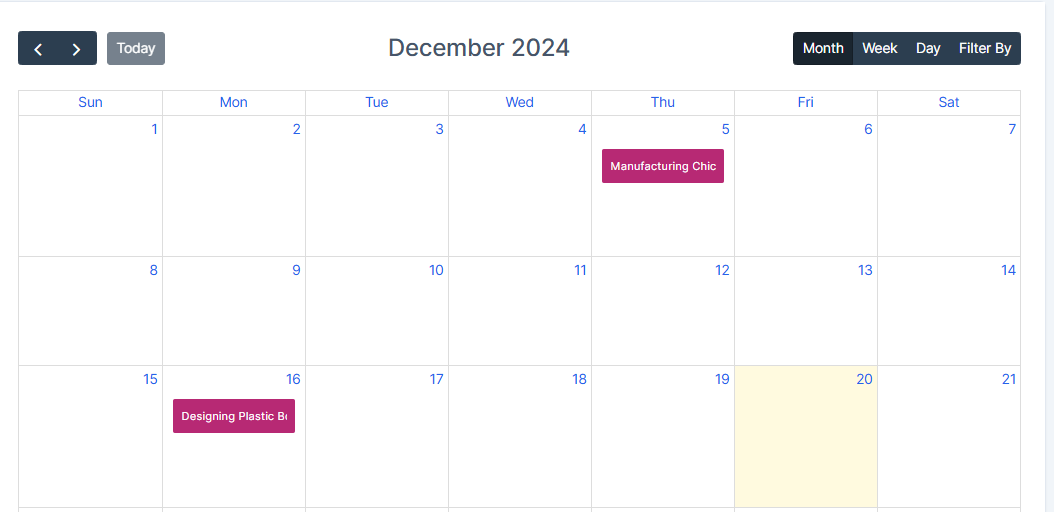
Utilities Overview
The utilities module provides additional tools such as media,Calendar and integrations to optimize system performance and functionality.
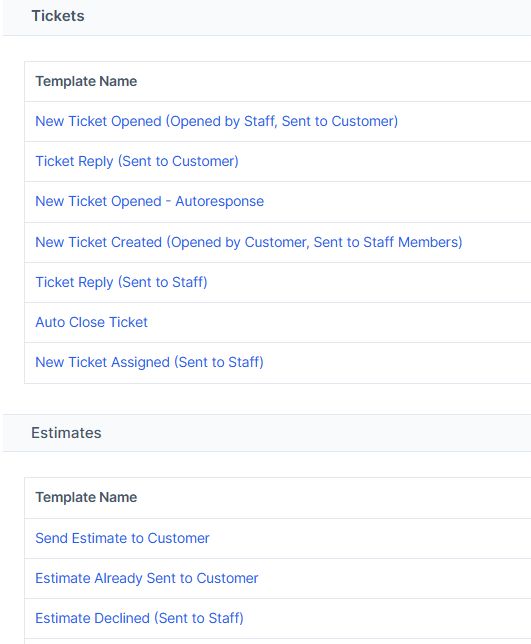
setup Overview
The setup module provides tools to enable the template of variety of service provided such as email template to optimize system performance and functionality.
Inventory Management
The Inventory module in our CRM helps you manage your stock efficiently by offering tools for:
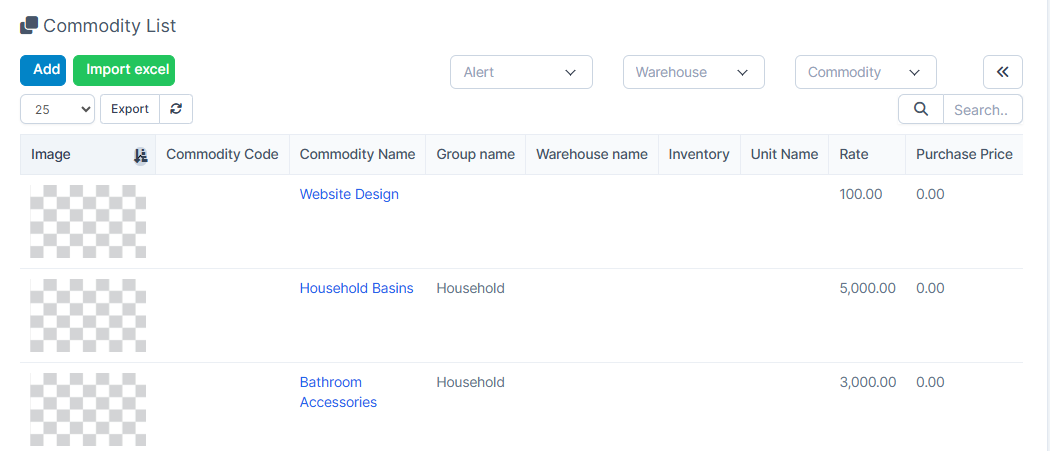
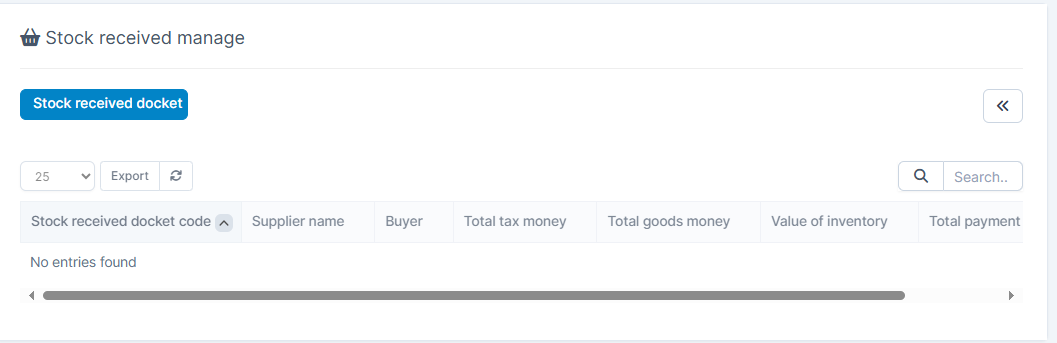
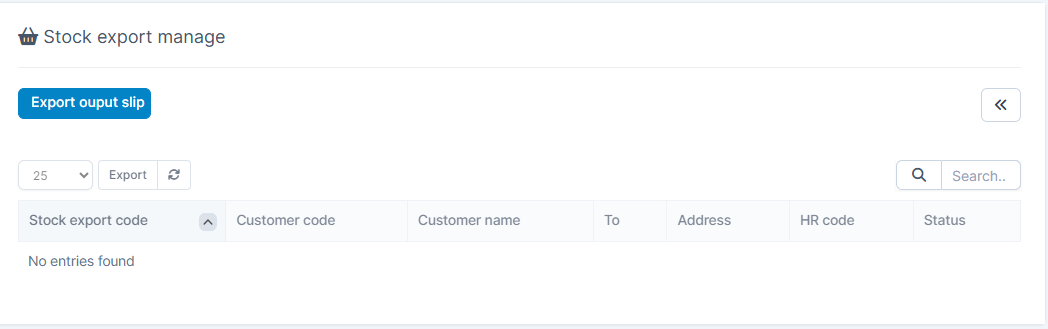
Access the inventory section to streamline your operations and ensure seamless stock management.